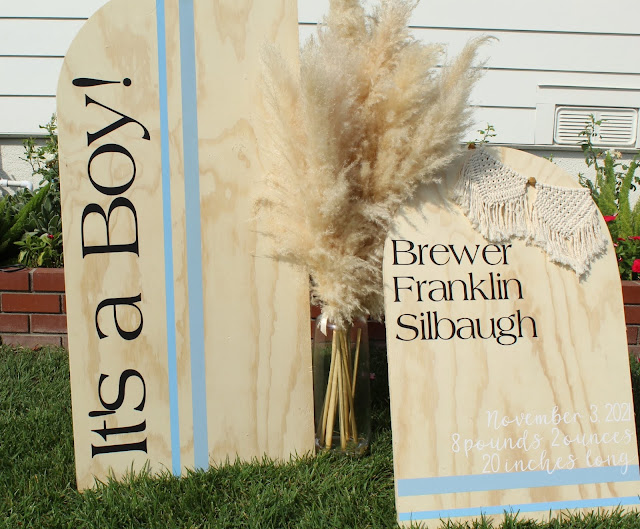
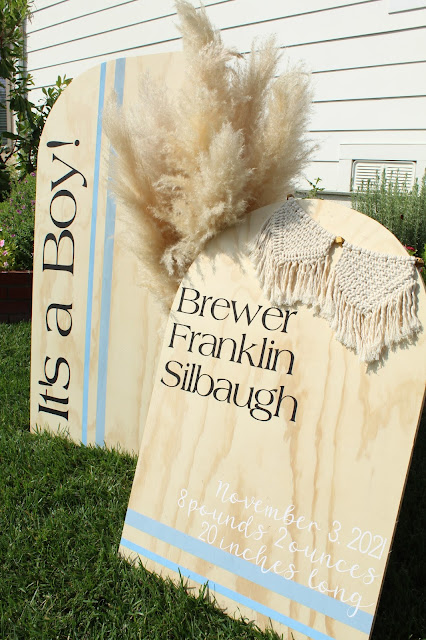
We've all seen them... those wooden storks in the front yard of a family with a new baby, maybe some of you have even had one yourself. While I love the sentiment behind the idea, welcoming a new baby and sharing the good news with all passersby, I feel like the actual stork itself is a bit outdated and, well, cliche. I was thinking the other day that I should try to come up with a modern version of the stork birth announcement sign for a friend of mine who has a little one due any day now. I also wanted to attempt to do all of the woodworking that it required myself and guess what? I did it! Now, I'm no seasoned vet when it comes to power tools (although I did have two semesters of woodshop in high school haha) so I think it's safe to say this is a totally doable project, even for the power tool newbie.
If you're looking to create something to to announce your new little one or maybe surprise someone when they come home from the hospital, this project is totally for you! (Also, I wanted to note, I was able to make this project for less than the cost of what I've seen some of those storks renting for!)
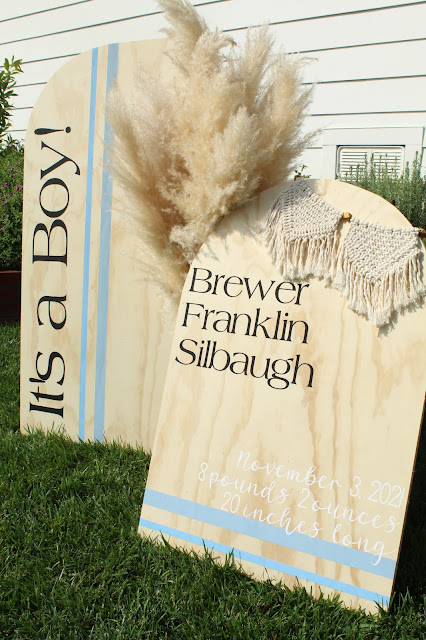
So cute, right? I'm SO happy with how they turned out and can't wait to use them! In this post I'm going to walk you through making your own. I'm going to try to be as detailed as possible so it may seem like a lot but I promise it's actually a lot easier than I anticipated! Let's get started!
SUPPLIES:
- Plywood (I used a nicer plywood called ACX)
- 2x6 (I used Douglas Fir # 2 and better)
- Hinges (I of course found some gold ones because why not. Also they were on sale!)
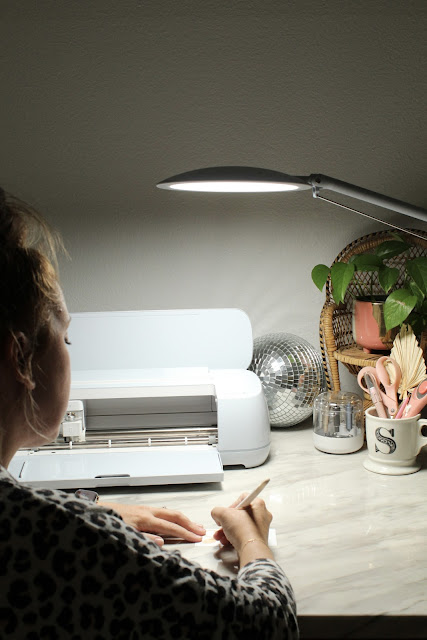
- Cricut Machine (I'm using the new Maker 3!)
-NEW Cricut Roll Holder (If using an Explore 3 or Maker 3 machine)
- Vinyl (Iron on is my favorite for projects like this but I used Black Smart Iron-On and White Removable Smart Vinyl)
- Transfer Tape (if you don't use iron on vinyl)
- Painters Tape
-Acrylic Paint (I used DecoArt in Baby Blue and Winter Blue)
-Paint Brush (I found some new ones from IKEA that I actually bought for my toddler that I've been loving lately)
-Electric Drill
-Jigsaw (I know that sounds scary but it's not)
-Cricut EasyPress (or home iron) (if using iron on vinyl)
I know some of these tools may seem intimidating and I'm not going to lie, they do belong to my husband, but I was determined to do it all myself and I'll tell you, I felt GREAT afterward. Power tools aren't just for the guys!
I went to my local lumber yard and got a piece of ACX plywood (it's a little bit nicer which of course means a little pricier but the wood just makes for a better finished product). They come in 8 foot by 4 foot pieces so I had them cut it down into four pieces (1- 5x2, 2- 4x2 and 1 3x2). Did you know that they will cut it down for you? And it's actually free at most places! Cool, right? After playing around with them a bit I decided to use the 4x2 and the 3x2 pieces for the project.
I also had them cut down the 2x6 (this would be used as a hinge on the back of the plywood to get them to be able to stand on their own). It also comes in 8 foot pieces. I wanted them to be slightly shorter than the signs they would be holding up so I had them cut down to be about 30 inches and about 40 inches, just so long as it's shorter than your plywood so you have room for your hinge.
Now for the fun part! So I actually had a wooden 24 inch round from a previous project that I was able to use as my template for my arches. You can use a myriad of things though. Everything from a pencil on a string taped to the board or any large round household object like a trash can lid, get creative!

Then it was time to use the jigsaw! Now, I had only used it once before for a quick straight line project so I was a little nervous, but I put my safety glasses on, clamped the wood to my table, and I just went for it and you know what? It was actually super fun and easy! Just take your time and be sure your board is clamped onto your work space so you don't have any mishaps. If you don't have any power tools at home please don't let that discourage you from making this project. Ask your dad, your uncle, your neighbor. Maybe borrowing will show you how much you enjoy woodworking and maybe one day you'll go out and get your own after seeing how much fun it is! (Fun fact: I've actually used the jigsaw more than my husband at this point.)
Being able to look back at my handiwork once I was finished was so awesome! I have pinned and saved so many photos online of signs that look JUST like these and I was able to make my own!
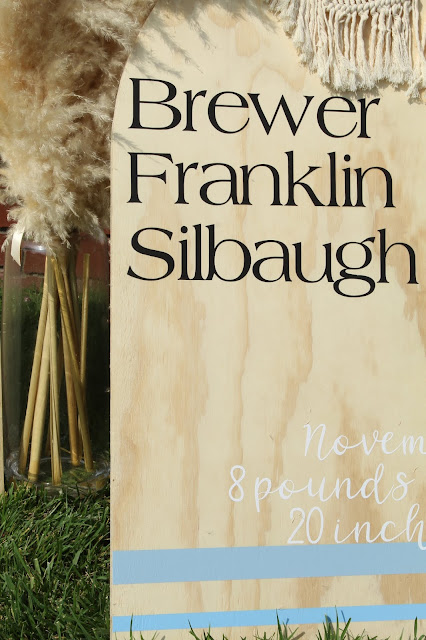
Now onto the fun Cricut stuff... I played around in Design Space until I came up with something that I loved for this project (you can find the file HERE). I wanted something modern yet classic. I found some simple fonts and went with some simple stripes for the design.
The blue lines and arch shapes are on the
Design Space canvas simply for visual reasons (I'm a super visual person so I like to see things exactly how they will end up). You'll want to hide those by clicking the eye just to the right of each layer before you click "Make It".
Select what material you will be using. I used a mix of
Removable Smart Vinyl and
Smart Iron On. I LOVE using Iron-On for all of my wood projects (yes, you can iron your vinyl onto wood!). You may be thinking "if you love Iron-on so much, why didn't you use it for the whole project" and that's a good question. I actually used removable vinyl for all the stats on this sign because this new baby hasn't actually arrived yet! So I made some faux stats until he does, otherwise I definitely recommend Iron-on all the way. (Although I will say, the new
Smart Vinyl weeded and applied like a dream... it
almost had me switch to team regular vinyl. Almost.)
Using the new
Smart Vinyl I was also able to cut my materials without a mat! For the first time EVER! I was SO excited for this! When you've been crafting as long as I have there isn't many firsts anymore... so this was actually super exciting.
It was also my first time using the new roll holder and friends, I'm obsessed. Between that and the matless cutting, cutting vinyl is such a dream! Especially large projects like this one!
But wait, there's more! Did you know that the
roll holder has a built in trimmer! They really thought of everything! I usually take my vinyl off the mat and go straight to my paper trimmer to trim it down to size. Now I don't have to! It's a one stop shop!
Once you've cut all your vinyl weed it by removing all the negative spaces.
Then I played around with placement of my words and lines to be sure I liked it all. (Like I mentioned, I'm super visual.)
Once I liked where everything was, I fired up my
EasyPress to get all the iron on vinyl onto my wood.
Removed your carrier sheet and voila!
Add your transfer tape to your vinyl (if you decide to use regular vinyl). This is one of the reasons I prefer to use iron on, no extra step of transfer tape.
Remove the carrier sheet, leaving your vinyl on your transfer tape.
And apply to your surface! (I'll be honest, I actually did this part twice because it wasn't quite straight the first time and it was making me crazy. I used a carpenter's square the second time around and it made all the difference.)
Then using my paint in two different shades of light blue, I filled in my lines.
Removing the tape was SO satisfying.
Now time for the hinged kickstand! I'd say this was probably the hardest part because I kind of figured it out as I went and it still wasn't even that bad. I used my carpenter's square again to align the 2x6 on the backside of my sign.
I marked it.
I realized that the screws I bought were a little long so I actually used a little scrap piece of wood behind the hinge to give the nail something else to go through before the plywood.
I gave them a little tap with my hammer to get them started into the wood.
Then grabbed my drill to get them the rest of the way through.
Then I set the 2x6 on some scrap wood and drilled it onto the other side of the hinge.
And that's it! If it seemed like a lot it's just because I was trying to be super thorough. But I was able to get this project done in a day and that's with a wild toddler interrupting every few minutes. This is totally a doable project and such a fun way to welcome that new bundle of joy. I'll say as a mama, it was so touching to come home to my house being decorated by my friends when we brought our baby home and that was just some balloons and paper signs. I can't imagine coming home to these beautiful signs!
I hope you enjoyed this project and if you decide to make it yourself please be sure to share with me or tag me so that I can see!


