This is a sponsored conversation written by me on behalf of Cricut. The opinions and text are all mine.
So I know that we haven't even gotten to Thanksgiving (or even Halloween) yet but it's my baby's first Christmas so I'm already in full on Santa mode over here. After becoming a "grown up" (if I can even call myself that) I definitely lost my Christmas cheer. Christmas became more about stressing over what gifts to get for everyone and trying to squeeze in family time with all of the family possible (which gets even harder when you get married because then you have twice as much family). But THIS year... I get to see the magic of Christmas through the eyes of a little one and the thought of it literally makes me a little misty eyed, not gunna lie.
If you've known me for any period of time you know that growing up I loved stockings. My grandma was the ultimate stocking stuffer(er?) and would fill our stockings with the most wonderful little trinkets and treasures. Our stockings were knit stockings and were seriously like Mary Poppins' bag, the more stuff you'd put in them, the bigger they'd stretch so it felt like it was never ending! It's because of those wonderful memories that stockings, to this day, are still my absolute favorite parts of Christmas.
Several years ago I made some stockings for my husband Sam and myself. I painstakingly cut the pattern by hand and sewed them all together. And then, I went to the Cricut Mountain Makathon where they announced the Cricut Maker, and that it was able to cut FABRIC! My very first thought was, "I'll be able to make stockings so much easier!" And boy was I right. Obviously now with our new little, he needed a stocking of his own because even though my grandma is no longer with us, I have to keep her wonderful tradition alive!
Supplies
Post contains affiliate links
- This Design Space Project
- 1/2 Yard of Fabric (for outside of stocking)
- 1/2 Yard of Fabric (for inside (lining) and cuff of stocking)
- Corresponding Thread
- 8 Inches of Ribbon for Hanging Loop
- Sewing Machine
- Cricut Maker
- Cricut StandardGrip Cutting Mat
- Cricut Fabric Mat (12x24)
- Cricut EasyPress Mini
- Cricut EasyPress Mat
- Cricut Iron On (I used Red)
- Cricut Weeding Tool
- Cricut Rotary Blade (Comes with the Cricut Maker)
- Cricut Fine Point Blade
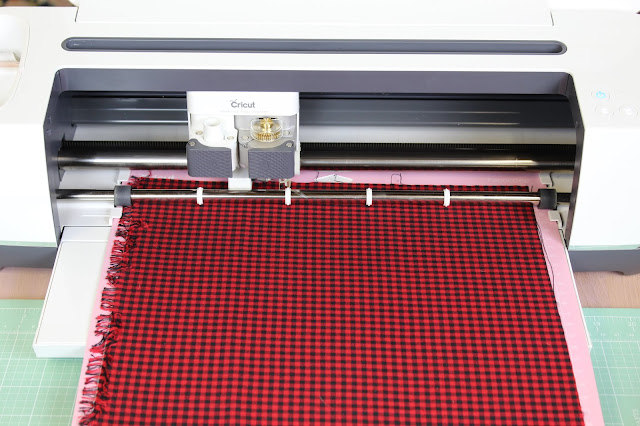
Trim your fabric down to size to fit onto your mat. If your fabric has a pattern, be sure to pay attention to the direction of it so that you don't end up with a sideways pattern on your stocking. Load your fabric onto your fabric mat (pretty side down, if it has a pretty side). Use a brayer to get your fabric onto your mat. Then you simply choose your material when Design Space prompts you to and the rotary blade will work its magic and cut through the fabric beautifully!
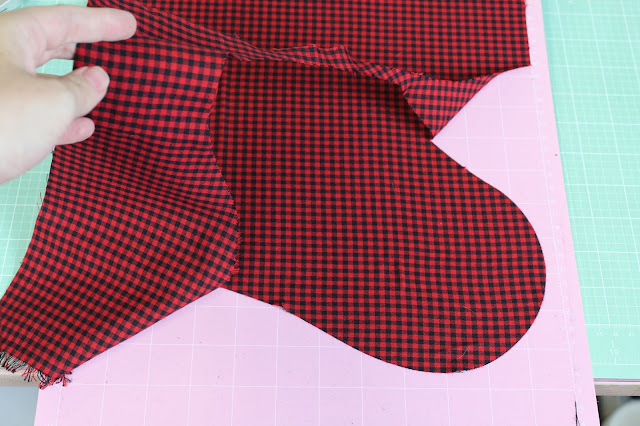
Look at that crisp cut!
Because I personally don't care for the toe and heel detail of the original Design Space project I simply went ahead and cuts mats 1 and 2 twice (once for the outside of the stocking and once for the lining of the stocking) and skipped mats 3-5.
So you'll end up with four pieces, two liners and two outer pieces.
Another element of the original project that I decided to tweak was, that it had no hanging loop! How can you "hang the stockings by the chimney with care" without a hanging loop?! So I added one. I simply took a piece of ribbon (about 8 inches long) folded it in half, and pinned it at about a 45 degree angle facing down four inches down on the back side of the lining and then sandwiched it between both lining pieces (right sides together) before sewing them. (Step 5 in the Design Space project instructions)
Aside from those couple tweaks, simply follow the rest of the instructions given in Design Space and you'll have an adorable (and super easy) new stocking!
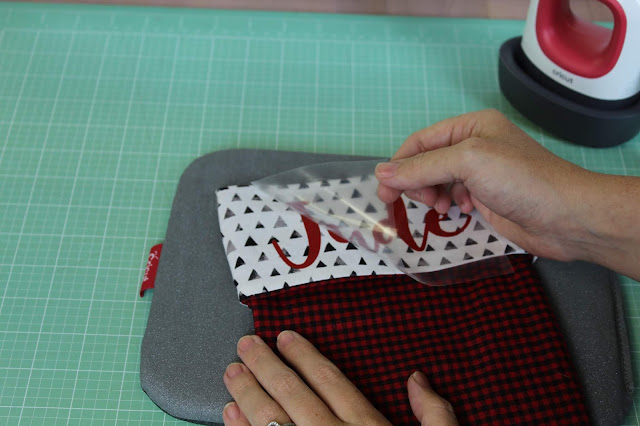
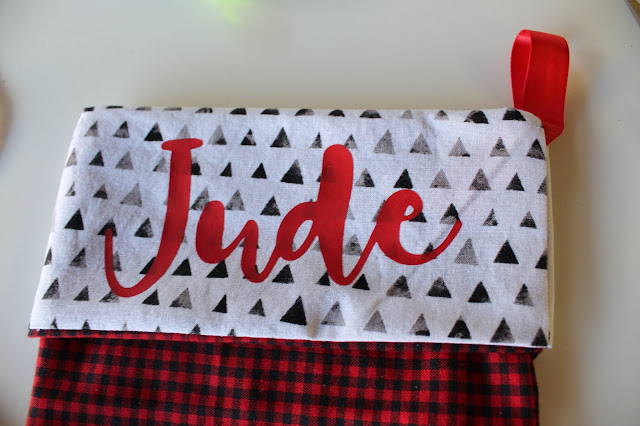
But... you can't just end there... you have to personalize them of course! Cricut is the greatest tool I've ever had for personalization. Having a unique name, I was never able to get any personalized items "off the rack". A keychain with my name on it? Forget about it. Maybe that's why I love personalizing anything and everything with my Cricut, these stockings being no exception. Using some iron on vinyl and the new EasyPress Mini, I added my little mans name to his new stocking.
I love the new EasyPress mini. Because of all the seams in my stocking, it was ideal for this project. (Plus, I love any excuse to use it, it just so stinkin' cute!) Follow the EasyPress Heat Guide settings to be sure you use your EasyPress at the correct heat and time.
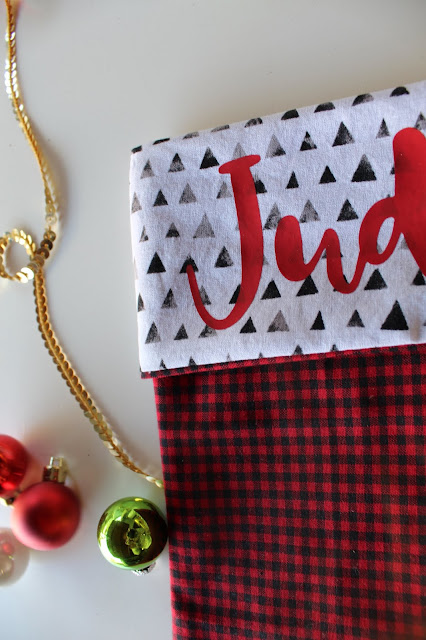
Remove the carrier sheet and voila! A totally personalized stocking! I can't wait to add this stocking to the mantle this year!
What holiday traditions do you have in your family? I'd love to hear them!








No comments:
Post a Comment