Several weeks ago, a fellow blogger Albion Gould asked who would be interested in doing a Cricut ornament exchange and I of course jumped at the chance (any excuse to use my Cricut). I ended up getting Jordan from Jordan's Easy Entertaining and after finding out she loved the move Elf, I decided I HAD to create something Elf related! Using basic shapes and images in Design Space I was able to create something really fun!
Supplies:
Cricut Explore Air 2 (or any of the Explore family)
Cricut Cutting Mat (lately the LightGrip has been my favorite)
Light Peach Cardstock for the face
Green Cardstock for the hat
Yellow Cardstock for the hat detail
White Cardstock for the back
Brown/Orange Cardstock for the hair
Eyelet (I used white)
Eyelet Setter (this one is my absolute FAV)
Glue Pen (also my FAV)
(I should be embarrassed to admit these were all supplies I already had in my arsenal... but I'm not haha.)
Assembly is easy, using the back piece as your guide, glue down all the pieces, starting with the hat, then face, then the hair and lastly the hat detail. Let it sit for a minute to dry white you prep the vinyl by putting it on the transfer tape. Center the vinyl and lay it down where you want it. I was a little afraid that the transfer tape might rip the paper but I had no issues. To be safe tho, don't press it down too firmly. Then you simply set the eyelet and tie your twine and you're done!
If you want to make your own Buddy the Elf ornament you can make one yourself here.
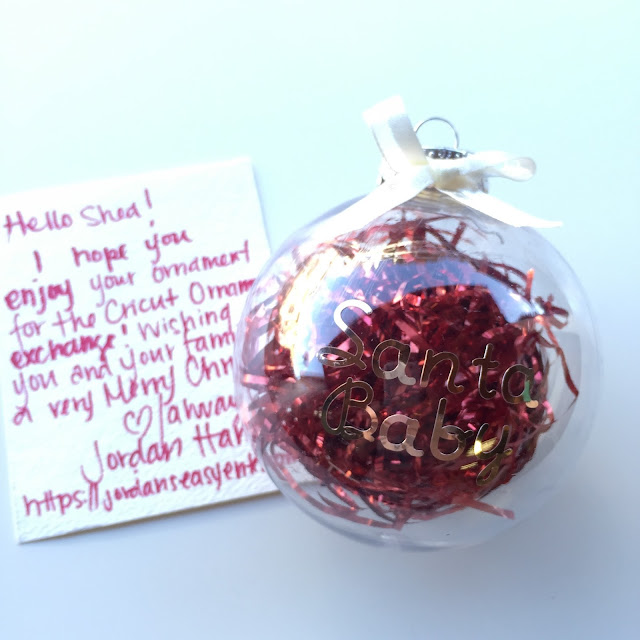
Jordan made me this adorable "Santa Baby" ornament for the exchange. Isn't it cute??
I had so much fun with this! Thank you Albion for letting me be a part of it!
Be sure to check out the other ladies who participated!


4 comments:
How cool that you were able to find out she like the movie. I am sure it makes it that much more special.
This is the cutest ornament ever! You did a great job on it!
You have to smile when you look at this! I love it!!
I love my ornament Shea! It's hanging on the tree now :)
Post a Comment